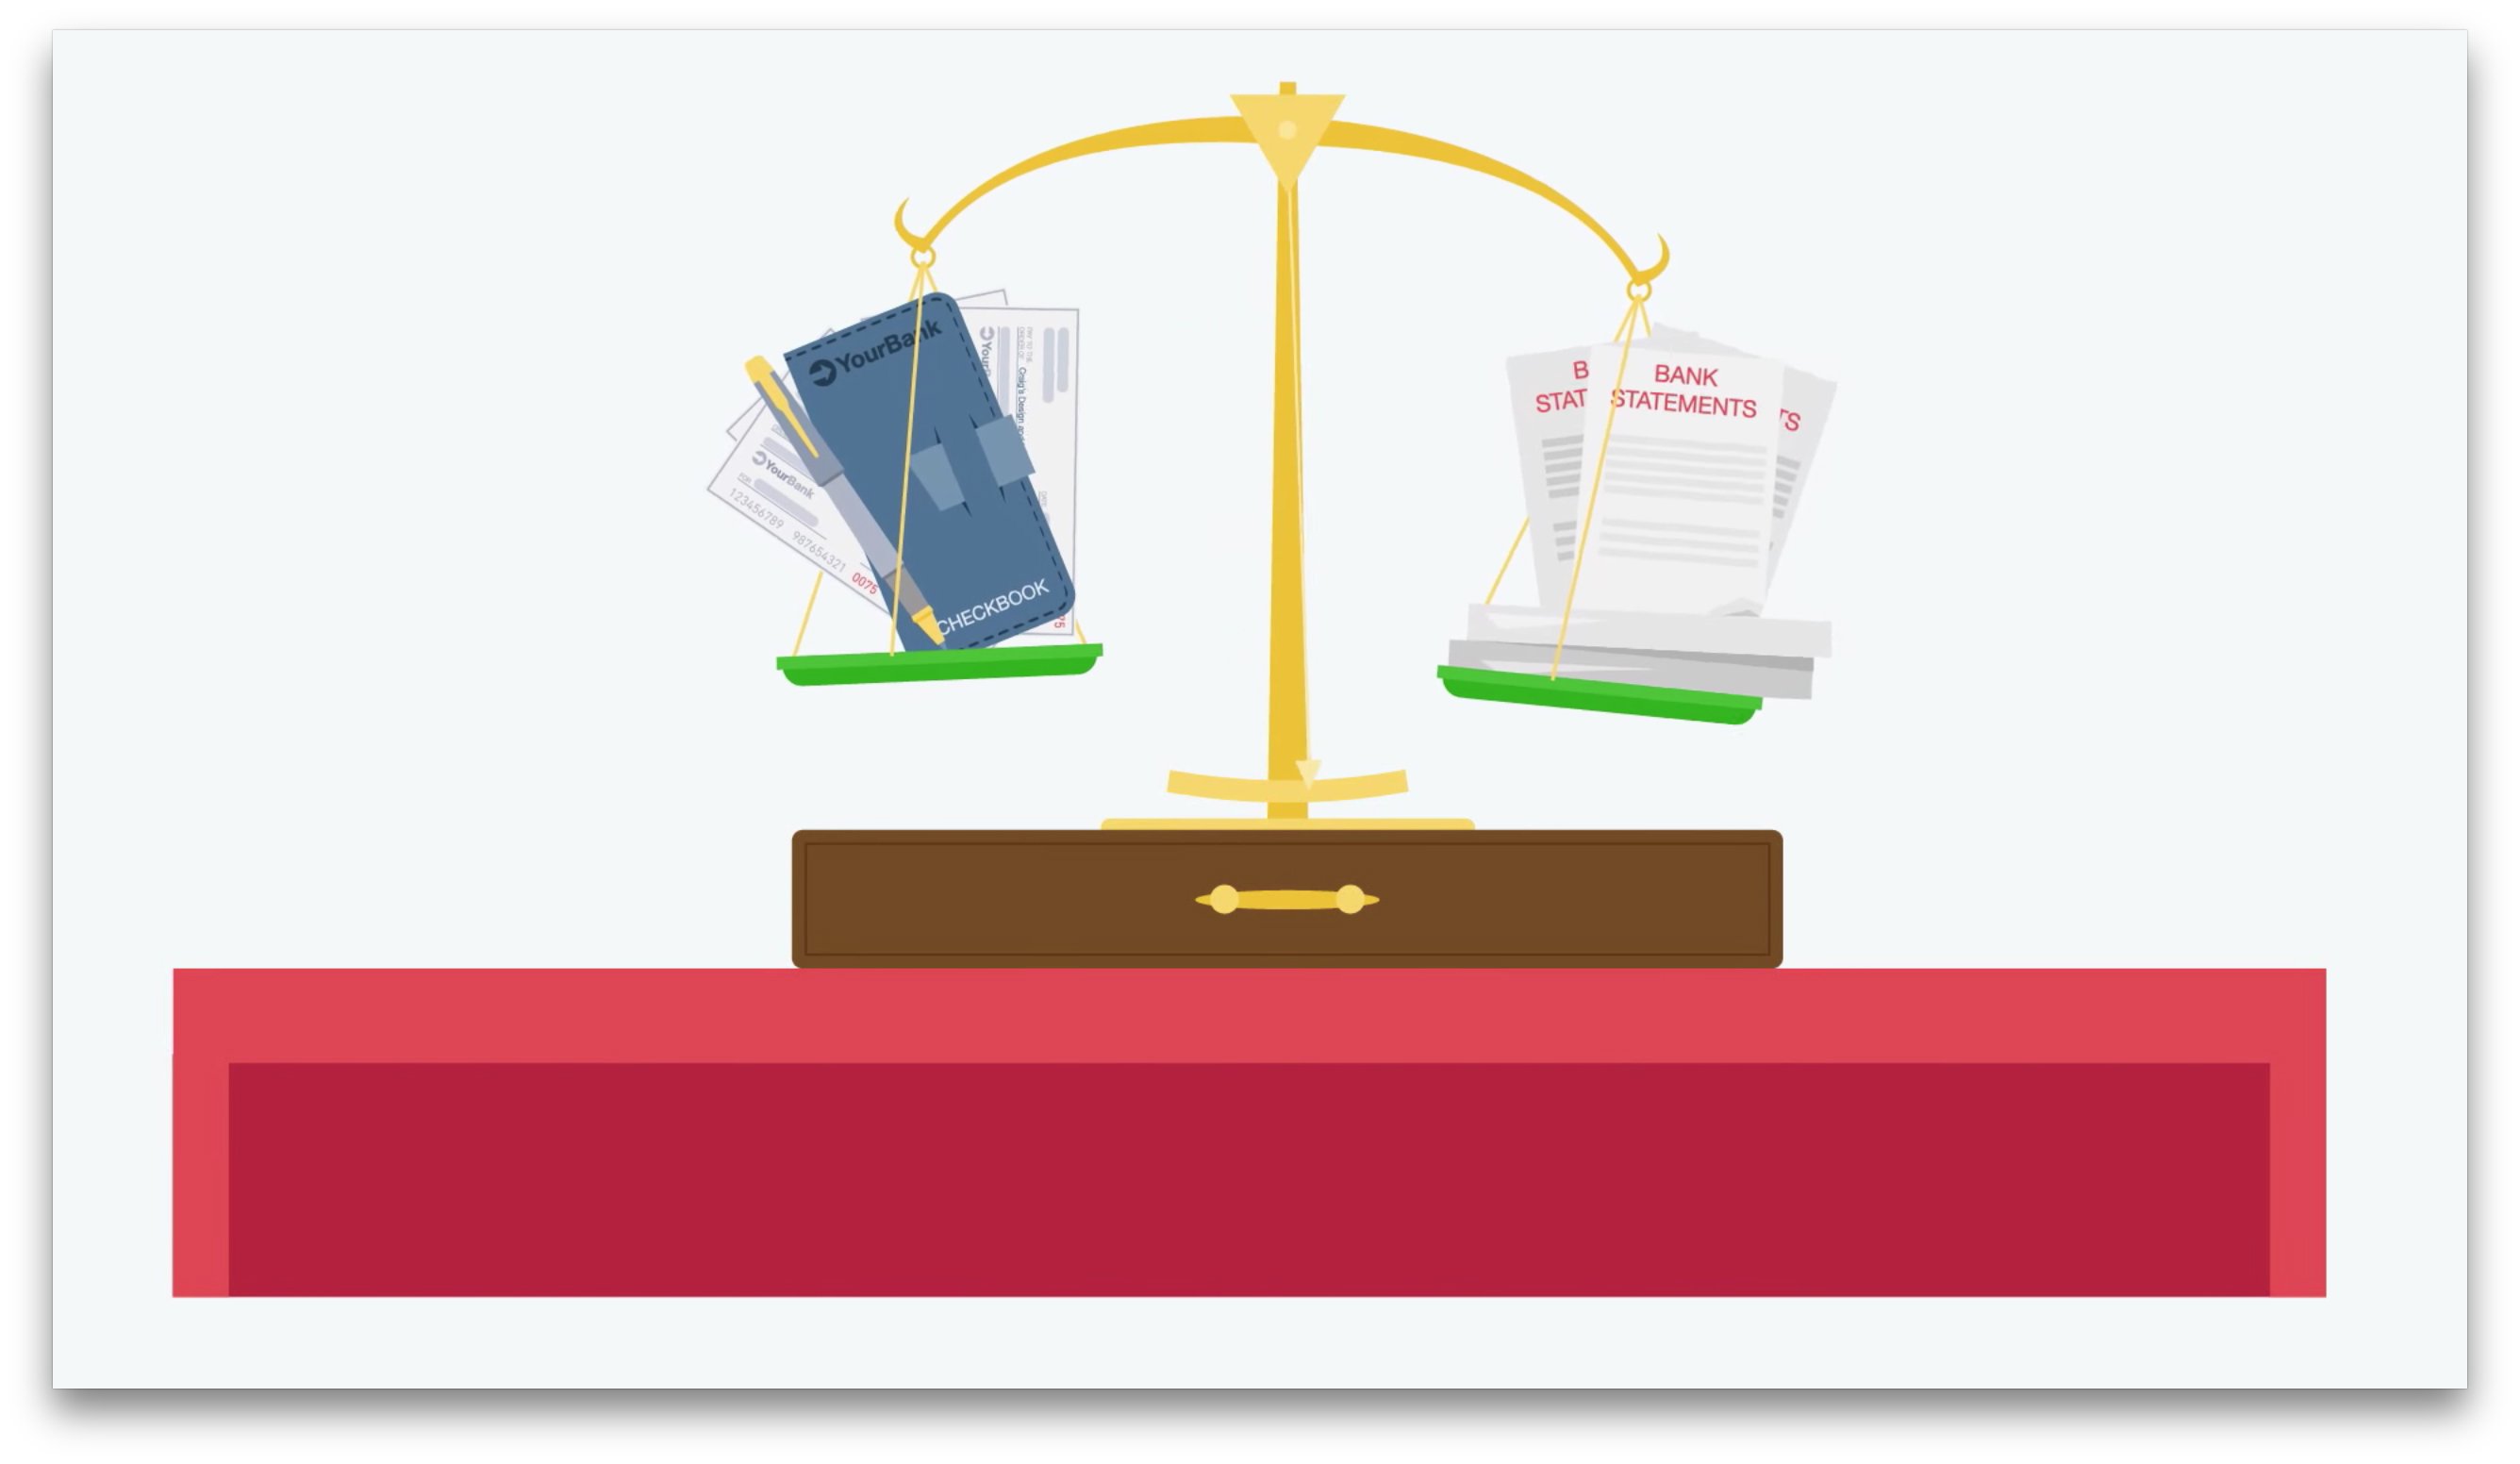
Reconciling is Easy…Follow These Steps
Ready to Reconcile in QuickBooks? How to Prepare

It may be one of your least favorite accounting tasks. But account reconciliation is easier if you get ready for it.
There’s no question that account reconciliation is a dreaded chore. So much so that many small business owners simply don’t do it. QuickBooks’ reconciliation tools and its ability to import transactions from your banks make this activity less painful. They also allow you to make reconciliation an ongoing process rather than a once-a-month marathon. However, it still takes time and strict attention to detail, and you still have to sit down with your bank statement once a month.
We strongly recommend that you make account reconciliation a regular habit. Doing so has numerous benefits. You’ll be able to, for example:
- Have confidence that your bank balance in QuickBooks is accurate.
- Match payments to invoices to help see which are past due.
- Make sure that your bill payments get posted.
- Catch errors sooner.
- Detect unauthorized access and transactions on your accounts.
Before you even attempt a reconciliation using QuickBooks, there are actions you can take ahead of time to minimize the time required and make the process less frantic and frustrating. Here are some tips.
Match your real-life accounts with QuickBooks accounts.
If you’re new to QuickBooks and/or you haven’t set up accounts that mirror all of your real-life bank and credit card accounts, you’ll need to do so. We try to avoid sending you to the Chart of Accounts, but you’ll have to create accounts there to store your downloaded transactions. QuickBooks needs one account for each bank account or credit card you plan to reconcile.
Open the Company menu and select Chart of Accounts. Click the down arrow next to Account in the lower left corner and select New.
You’re going to want to reconcile your checking account(s), so select Bank and click Continue. Complete the fields on the screen that opens and save the account.
Warning: It’s critical that you enter the correct Opening Balance. This is the beginning balance printed on the statement you’re going to reconcile. After you’ve gone through the process once, QuickBooks will supply this for you.
Be sure that your QuickBooks transaction records are up to date.
If you’ve connected your QuickBooks file to your online bank, this will be easier. You’ll want to enter any cleared transactions from your statement that are missing in QuickBooks. If you haven’t set up a link to your financial institution, we recommend that you do so. Otherwise, you’ll have to sign on to your online bank account and locate each cleared transaction for each account. We can help you with this step.
Be clear on the process.
Reconciling an account in QuickBooks is similar to the way you used to do it using a paper statement and your checkbook register. You’ll be matching the transactions in one to the other and clicking the ones that correspond. When you’ve finished, QuickBooks should show a $0.00 difference between the two. The software makes suggestions about what to do if it doesn’t, which may or may not work in finding the missed transactions.
This is the most difficult step in reconciling: ending up with a zero difference. We can troubleshoot your reconciliation, if you’re not able to complete it correctly.
Don’t forget to enter interest earned and service fee amounts.
QuickBooks will prompt you, but don’t forget to enter any Service Charges or Interest Earned.
They’ll probably seem like small amounts, but your reconciliation will not work if you don’t enter the interest earned or bank service charges. These fields will appear at the bottom of the window when you open the Banking menu and select Reconcile.
Before you begin the reconciliation process, create a backup of your QuickBooks company file.
This is important. If you get hopelessly tangled up in your reconciliation, you want to be able to go back to where you started. Click File | Backup Company | Create Local Backup. You have two choices here: Online backup (cloud-based storage; fees apply) or Local backup (like a USB drive). Not sure which to choose or how to set it up? Let us walk you through this. You should definitely be backing up your QuickBooks file regularly.
Once you’ve gone through a reconciliation successfully, the next ones should be easier. Doing it for the first time can be a major challenge. We can help you through the process. If you’d rather, we can even take over your reconciliation chores completely. Contact us, and we can talk about this.